Quinoa Energy Balls with Peanut Butter
15m easy
gluten-free vegan
Homemade dark chocolate peanut butter cups with a crispy quinoa crunch. No-bake, vegan, and gluten-free — ready in 25 minutes plus chilling time.
The first time someone bites into one of these and hears the crunch of puffed quinoa inside the peanut butter layer, the reaction is always the same: a surprised pause followed by an immediate reach for a second one. These homemade peanut butter cups improve on the store-bought version in every way that matters — the chocolate is darker and snappier, the peanut butter filling is thicker and less sweet, and the puffed quinoa adds a delicate crispy texture that transforms each bite from a simple candy into something with real dimension.
The quality of your chocolate matters here more than in almost any other recipe on this site. Since the chocolate is not being mixed into a batter or hidden behind other strong flavors, its taste is front and center. Use the best dark chocolate chips you can find, ideally something in the 60 to 70 percent cacao range. This level of darkness provides rich chocolate flavor without overwhelming bitterness, and it pairs naturally with the sweetness of the peanut butter and maple syrup.
The coconut oil serves two purposes. First, it thins the melted chocolate slightly so it flows more easily into the liners and creates a smooth, even layer. Second, it gives the set chocolate a satisfying snap when you bite through it. Without the coconut oil, tempered chocolate chips can set up too hard and shatter unpredictably. With it, you get a clean break that feels like biting into a professionally made confection.
Melt the chocolate in short intervals and stir frequently. Chocolate burns easily and, once scorched, cannot be saved. Thirty-second microwave bursts with thorough stirring between each is the safest approach. The chocolate is ready when it is completely smooth with no visible chips remaining.
Puffed quinoa is the secret ingredient that elevates these from ordinary peanut butter cups to something genuinely special. It has a texture similar to puffed rice or crispy rice cereal but smaller and more delicate, with a subtle nutty flavor that blends seamlessly with peanut butter. You can find puffed quinoa at most natural food stores, or you can make your own by dry-toasting raw quinoa in a hot skillet until the grains pop and puff up.
If you are toasting your own, heat a dry skillet over medium-high heat, add a thin layer of rinsed and thoroughly dried quinoa, and shake the pan constantly. The grains will start popping within a minute or two, similar to popcorn but quieter and less dramatic. Transfer them to a bowl immediately once they are puffed to prevent burning. You will need to do this in small batches since only a single layer of grains should be in the pan at a time. Our guide to what quinoa is covers the science behind why these tiny grains puff up and develop their distinctive crunch.
The peanut butter should be natural — the kind where you can see the oil separated on top when you first open the jar. Stir it thoroughly before measuring. Conventional peanut butter with added sugar and stabilizers will make the filling too sweet and too stiff, changing the texture of the finished cups.
The key to clean, professional-looking peanut butter cups is working in layers and letting each layer set fully before adding the next. This is not optional. If you add the peanut butter filling to chocolate that has not set, the filling sinks into the chocolate and you lose the distinct layers that make these visually appealing and texturally interesting.
The freezer shortcut — 5 to 7 minutes rather than 15 to 20 minutes in the fridge — speeds up the process considerably. The chocolate does not need to be frozen solid, just firm enough that you can press the peanut butter filling on top without it cracking or deforming.
When adding the filling, leave a small border of exposed chocolate around the edges. This allows the top chocolate layer to bond directly to the bottom layer, creating a sealed chocolate shell around the filling. If the filling goes all the way to the edges, the top chocolate sits on peanut butter instead of chocolate, and the cups are more likely to crack apart at the seams when you peel off the liner.
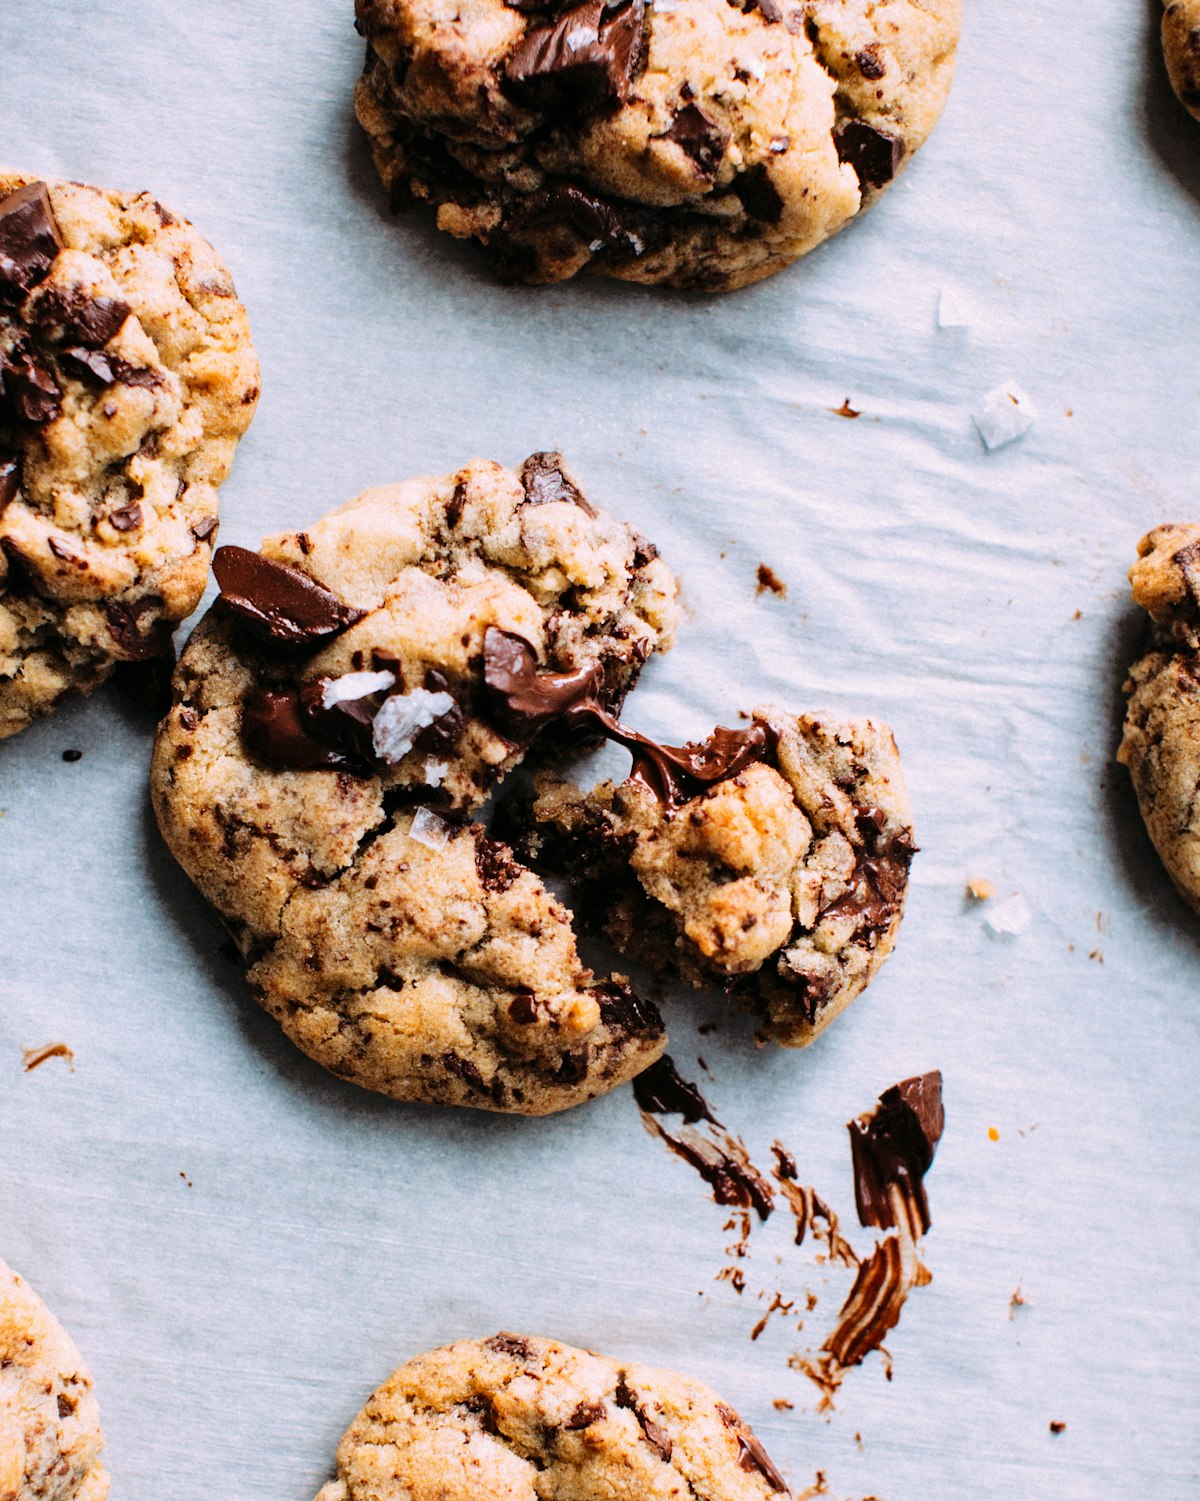
The sea salt on top is the finishing touch that ties everything together. The flaky crystals dissolve slowly on your tongue, providing bursts of saltiness that contrast with the chocolate and peanut butter. Use flaky sea salt like Maldon rather than fine table salt — the larger flakes look better and provide a more interesting textural experience.
Almond butter cups. Swap the peanut butter for creamy almond butter. The flavor is more delicate and slightly sweeter, which pairs beautifully with the dark chocolate. Everything else stays the same.
White chocolate peanut butter cups. Replace the dark chocolate with vegan white chocolate chips. The result is sweeter and milder, and the visual contrast of the white chocolate shell against the golden peanut butter filling is striking. Use cocoa butter-based white chocolate for the best flavor.
Tahini chocolate cups. Replace the peanut butter with tahini for a nut-free version that has an earthy, sesame-forward flavor. Add an extra tablespoon of maple syrup since tahini is less sweet than peanut butter. This version is especially good with a sprinkle of black sesame seeds on top instead of sea salt.
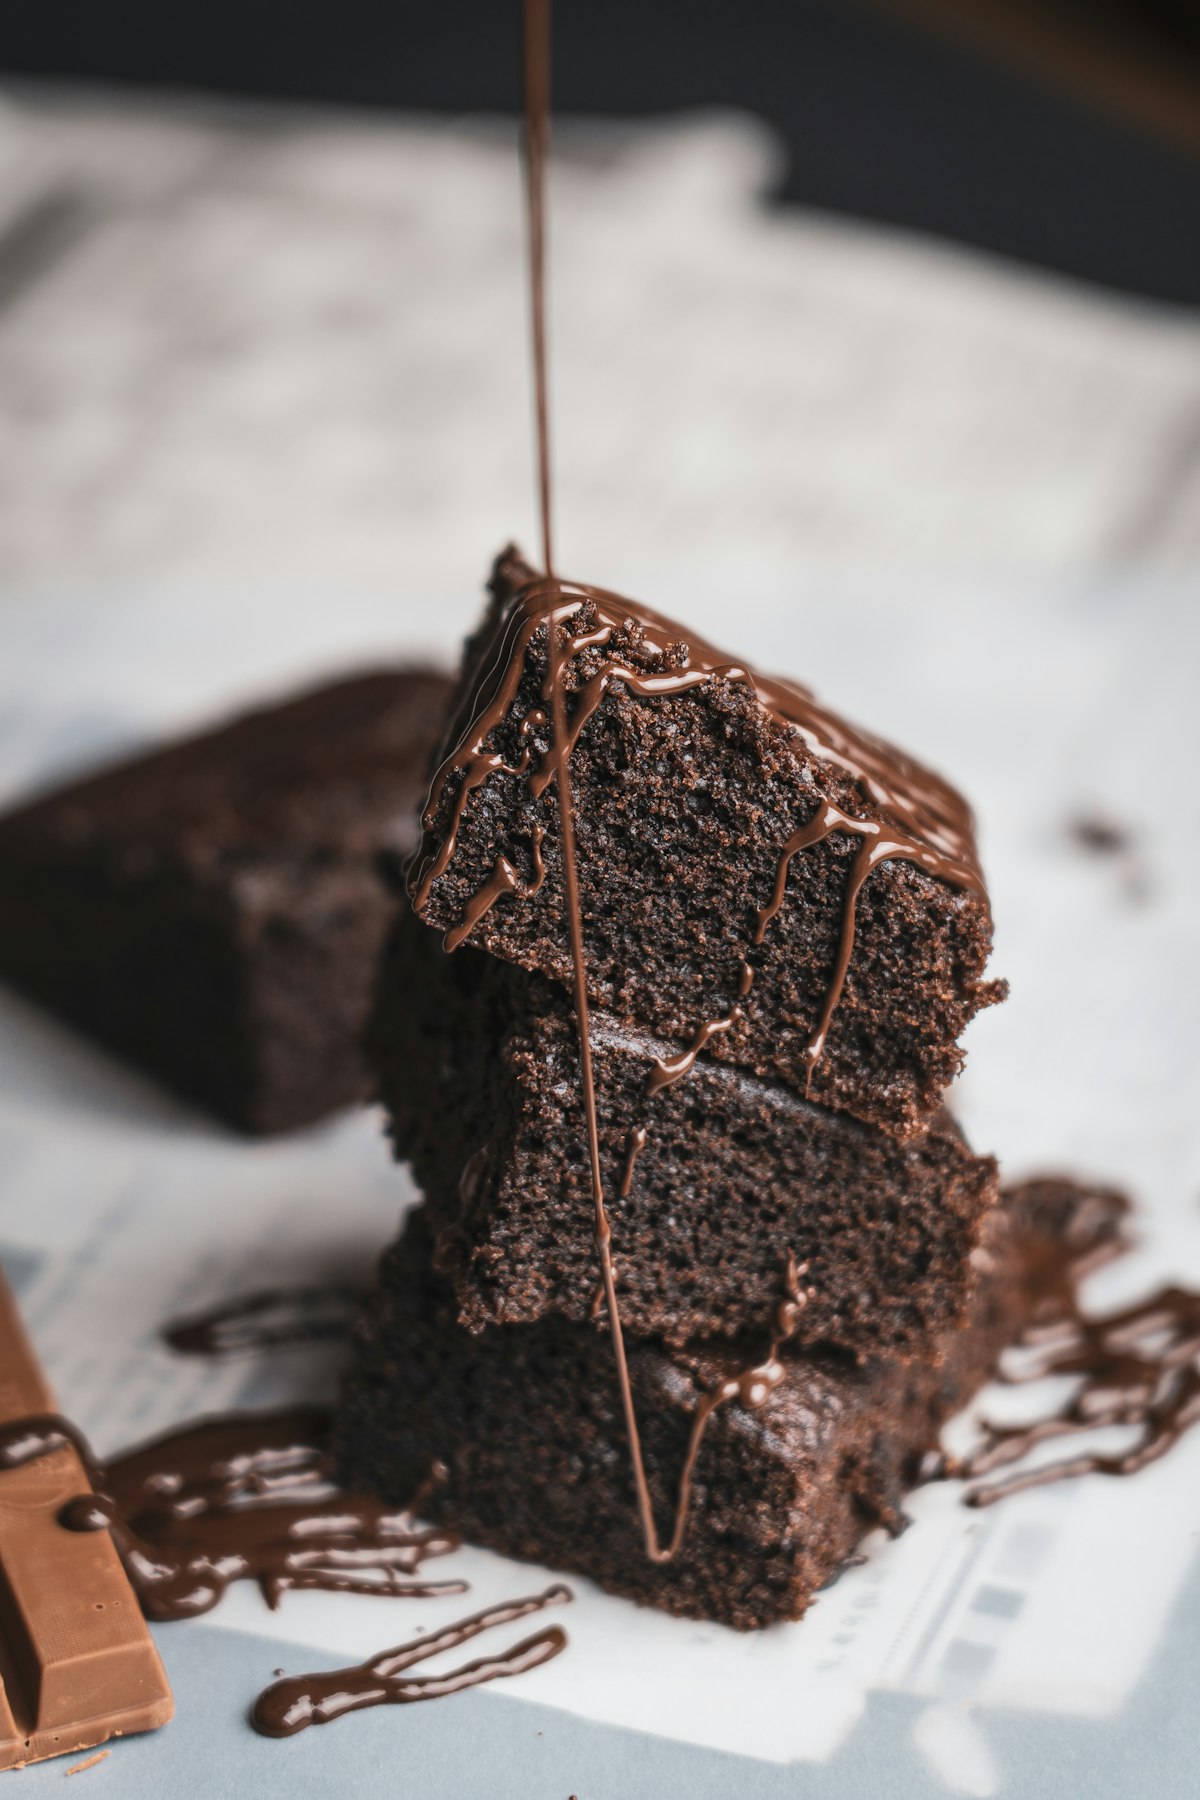
Double chocolate cups. Stir one tablespoon of cocoa powder into the peanut butter filling for a chocolate-on-chocolate experience. The filling becomes darker and more intensely flavored, and the quinoa crunch provides the texture contrast that keeps each bite interesting. For more quinoa desserts that lean into the chocolate theme, our quinoa brownies deliver a completely different but equally satisfying fudgy experience.
Store the peanut butter cups in an airtight container in the refrigerator for up to two weeks. They are best eaten cold — the chocolate snaps cleanly and the filling is firm and satisfying. At room temperature, the chocolate softens and the filling becomes gooey, which some people prefer but it does make them messier to eat.
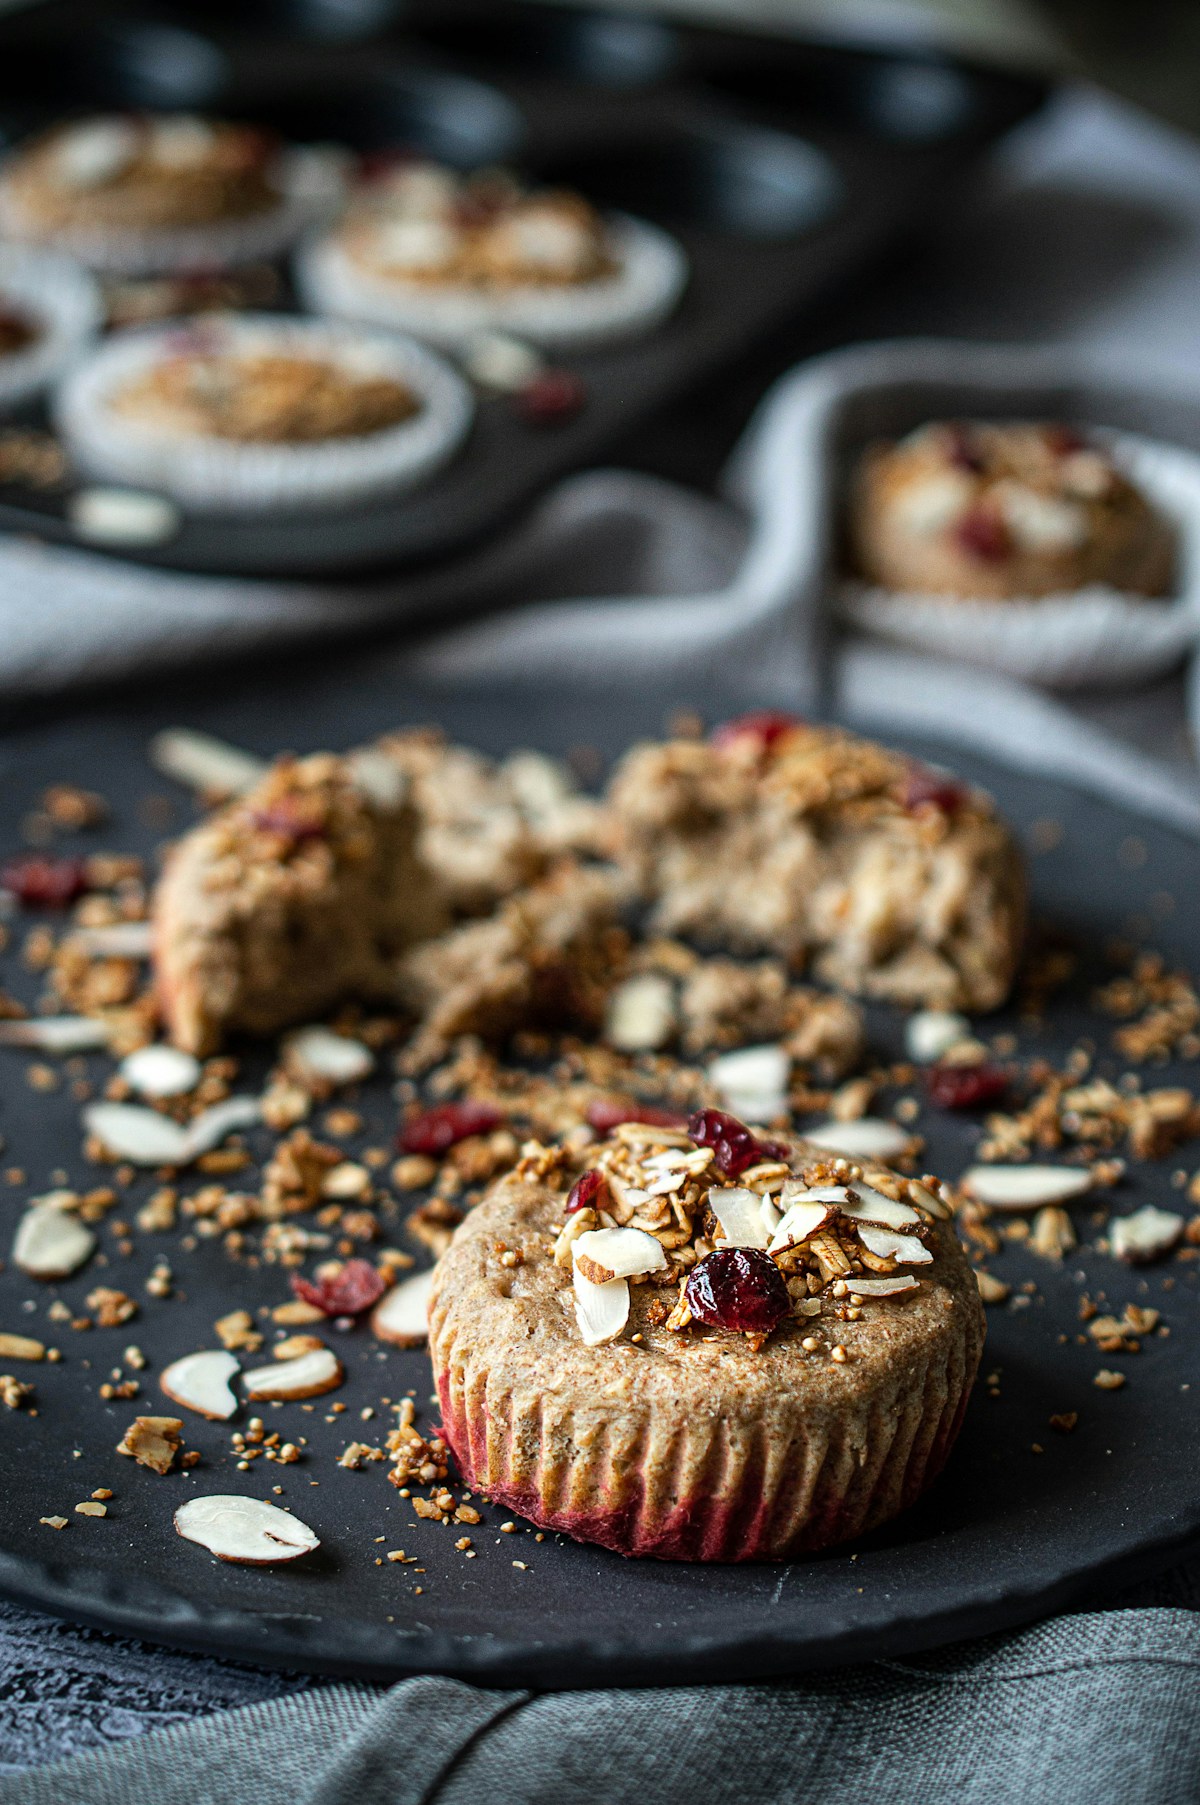
For longer storage, freeze the cups in a single layer, then transfer to a freezer bag once solid. They keep for up to three months in the freezer. Eat them straight from the freezer for a candy bar-like crunch, or let them sit at room temperature for five minutes for a slightly softer texture. Frozen peanut butter cups make an excellent grab-and-go snack. For more no-bake quinoa treats that store well, check out our quinoa energy balls for a portable option packed with protein and healthy fats.
Line a standard 12-cup muffin tin with paper or silicone liners. If you have a mini muffin tin, you can make 24 smaller cups instead — the filling and chocolate amounts remain the same, you will just use less per cup.
Melt two-thirds of the dark chocolate chips (about two-thirds cup) with half the coconut oil in a microwave-safe bowl, heating in 30-second intervals and stirring between each until completely smooth and glossy. Alternatively, use a double boiler over gently simmering water, stirring constantly. Spoon about one teaspoon of melted chocolate into the bottom of each liner, then tilt and rotate the liner so the chocolate coats the bottom evenly. Place the muffin tin in the freezer for 5 to 7 minutes until the chocolate is completely set and firm to the touch.
While the chocolate bases set, prepare the peanut butter filling. In a medium bowl, stir together the peanut butter, maple syrup, puffed quinoa, vanilla extract, and salt until everything is evenly combined. The puffed quinoa should be distributed throughout the peanut butter without clumps. The mixture should be thick but scoopable — if your peanut butter is very stiff, microwave it for 15 seconds before mixing to make it easier to work with.
Remove the muffin tin from the freezer and spoon about one tablespoon of the peanut butter quinoa mixture into each cup, pressing it down gently with the back of the spoon or your fingertip to create a flat, even layer. Leave a small border around the edges so the top chocolate layer can seal down to the bottom chocolate layer, fully encasing the filling.
Melt the remaining chocolate chips with the remaining coconut oil using the same method as before. Spoon the melted chocolate over the peanut butter filling in each cup, using enough to fully cover the filling and create a smooth top layer. Tap the muffin tin gently on the counter a few times to help the chocolate settle into an even layer and release any air bubbles.
Sprinkle a few flakes of sea salt over each cup while the chocolate is still wet. Place the muffin tin in the refrigerator for at least 30 minutes, or in the freezer for 15 minutes, until the chocolate is completely set. Peel off the liners and serve cold.
Join 1,000+ home cooks who get weekly quinoa recipes and tips.
No spam. Unsubscribe anytime.